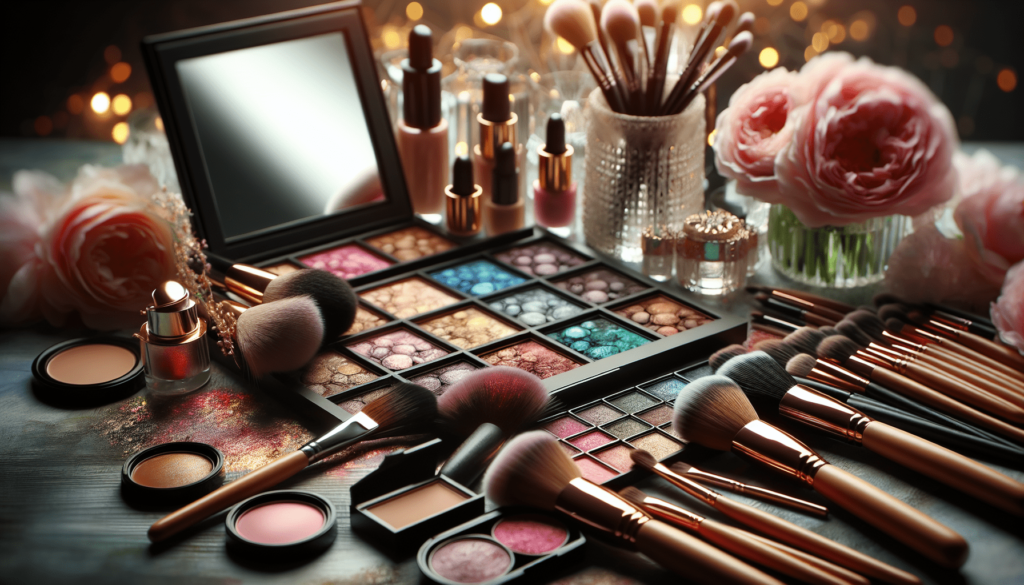
What if you could enhance your natural beauty and create stunning looks using colored contouring? It’s an art form that adds dimension to your features and allows you to express your creativity. In this guide, you’ll discover everything you need to know about colored contouring—from understanding color theory to step-by-step techniques that will elevate your makeup game.
Introduction
Colored contouring is a makeup technique that involves using different colors to enhance and define your facial features. With its roots in traditional makeup contouring, it has gained popularity as people seek more vibrant and expressive ways to play with their looks. This guide will walk you through the essential elements of colored contouring, helping you feel confident in selecting colors and applying techniques that suit you.
Understanding Color Theory in Makeup
Before you can master the art of colored contouring, it’s crucial to understand some basic concepts of color theory. This foundation will help you choose the right colors that harmonize with your skin tone and enhance your features.
Basic Color Wheel Concepts
The color wheel is a visual representation of colors and their relationships. It consists of primary colors (red, blue, yellow), secondary colors (green, orange, purple), and tertiary colors (combinations of primary and secondary colors). Knowing how to navigate this wheel will serve as a valuable resource for your makeup application.
Complementary Colors for Different Skin Tones
Complementary colors—those located opposite each other on the color wheel—work beautifully together. For example, orange is the complementary color of blue, and red complements green. When it comes to contouring, using complementary colors can create striking contrasts that define your face and add vividness.
| Skin Tone | Complementary Contour Color |
|---|---|
| Fair | Soft peach or lavender |
| Medium | Warm caramel or coral |
| Olive | Rich terracotta or mauve |
| Dark | Deep berry or plum |
By utilizing these complementary shades, you can bring out the best in your natural complexion.

Choosing the Right Colors
One of the keys to successful colored contouring is choosing the right shades that work well with your skin tone and undertones. This can make a significant difference in the overall look you achieve.
Warm vs. Cool Tones
Identifying whether you have warm or cool undertones is essential in color selection. Warm undertones typically have hints of yellow, peach, or golden hues, while cool undertones may have a pink, red, or blue hint. Understanding this will guide you in selecting contour colors that enhance your unique complexion.
Selecting Shades Based on Skin Undertones
When choosing shades for contouring, it’s helpful to consider your skin’s undertone:
- Warm Undertones: Opt for colors like warm browns, corals, and golds.
- Cool Undertones: Choose shades such as cool taupes, rosy pinks, or deep mauves.
- Neutral Undertones: A mix of warm and cool shades will usually look stunning on you.
Popular Color Combinations for Contouring
Mixing and matching colors can create beautiful effects. Some favorite combinations include:
- Light peach with warm brown: A flattering combination for a sunny glow.
- Cool lavender with taupe: Perfect for soft, ethereal looks.
- Berry tones with deep caramel: Dramatic and eye-catching for the evening.
Experimenting with combinations that resonate with you can lead to fantastic finds!
Tools and Products
Having the right tools on hand will make the colored contouring process simpler and more enjoyable. Here’s a breakdown of what you might need.
Cream vs. Powder Colored Contour Products
Both cream and powder products have their unique benefits:
-
Cream Contours: These provide a richer, more blendable finish and are perfect for a dewy look. They work well on dry skin.
-
Powder Contours: Ideal for oily skin, powders can produce a matte finish and have longer staying power. They are typically easier to apply and control.
Choosing based on your skin type and the look you want to achieve will guide your decision.
Brushes and Blending Tools for Colored Contouring
The right tools can elevate your contouring game. Here are some recommendations for brushes and blending tools:
- Foundation Brush: Great for applying cream or liquid products smoothly.
- Blush Brush: Best suited for applying powder products to the cheeks.
- Beauty Blender or Sponge: Ensures seamless blending for a flawless finish.
- Fan Brush: Ideal for applying highlights to achieve a soft glow.
Top Product Recommendations
To help you in your journey, consider these top choices for colored contouring:
- Cream Contours: Fenty Beauty Match Stix, Anastasia Beverly Hills Stick Foundation.
- Powder Contours: Kat Von D Shade + Light Contour Palette, Too Faced Cocoa Contour Palette.
- Blush and Highlighter: NARS Blush, Becca Shimmering Skin Perfector.
These products have gained popularity for their pigmentation and blendability, making them a great choice for enhancing your makeup look.

Step-by-Step Colored Contouring Technique
Now that you have the tools and knowledge, let’s break down the step-by-step process to achieve perfectly contoured features.
Prepping the Skin
Skincare is the foundation of any great makeup look. Start by cleansing your face, applying toner, and then moisturizing. If you have dry skin, consider using a hydrating primer. For oily skin, a mattifying primer can help control shine throughout the day.
Applying Base Makeup
Even out your complexion by applying a lightweight foundation or tinted moisturizer. Ensuring an even base allows the contour colors to pop without creating harsh lines.
Mapping Out Contour Areas
Understanding where to apply colored contour products is essential. The primary areas you’ll want to focus on include:
- Cheekbones: Apply contour just below the cheekbones.
- Forehead: Use a warm shade along the hairline for dimension.
- Jawline: Add contour along the jaw to sculpt the shape of your face.
- Nose: A subtle contour along the sides of your nose can create a more defined appearance.
Blending Techniques for a Seamless Finish
The key to a natural look is blending! Here are some techniques to remember:
- For creams, use a damp beauty sponge to dab the product gently, working it into your skin.
- For powders, use a fluffy brush and blend in circular motions for a seamless finish.
Colored Contouring for Different Face Shapes
Different face shapes call for tailored contouring techniques to enhance your features. Here’s how you can contour based on your unique face shape.
Oval Face Contouring
An oval face shape is characterized by balanced proportions. To contour, apply shades to slightly enhance the cheekbones, add warmth to the forehead, and soften the jawline.
Round Face Contouring
For a round face shape, your goal is to elongate features. Apply contour along the sides of your forehead, under the cheekbones, and along the jawline to create the illusion of length.
Square Face Contouring
If you have a square face shape, you’ll want to soften the angles. Apply contour on the sides of your forehead and under the jawline, while highlighting the center of your forehead and chin.
Heart-Shaped Face Contouring
In a heart-shaped face, the aim is to balance the width of your forehead with a narrower chin. Add contour along the sides of the forehead and below the cheekbones to create a softer silhouette.

Advanced Colored Contouring Techniques
Once you master the basics, you might be interested in experimenting with more advanced techniques that can take your colored contouring to the next level.
Multi-Color Contouring
By using multiple shades, it’s possible to create incredible dimension. Pair different hues for each contour area—warm for cheeks, cool for the nose—to create a more dynamic look.
Draping Technique with Blush
Draping is an exciting technique that involves applying blush in creative ways to enhance your features. By sweeping a shade across the cheeks and temples, you can achieve a youthful and radiant appearance.
Incorporating Highlighter with Colored Contour
Highlighter can complement your colored contour beautifully. Apply a luminous highlight to the high points of your face, such as the cheekbones, brow bones, and bridge of the nose, to contrast and elevate your contoured areas.
Common Mistakes to Avoid
As with any art form, colored contouring has its pitfalls. Here are some common mistakes to be aware of and how to steer clear of them.
Over-Application of Color
Applying too much product can create harsh lines or an overly dramatic look. Start with a light hand and build up color gradually, allowing time to blend.
Poor Color Selection
Using colors that don’t complement your skin tone can lead to an unflattering finish. Refer back to the color wheel and your undertone knowledge to guide your selections.
Improper Blending Techniques
Blending is crucial for achieving a seamless look. Taking the time to carefully blend products ensures that everything appears cohesive and natural.

Daytime vs. Nighttime Colored Contour Looks
The beauty of colored contouring is its versatility. Here’s how to adapt your contour based on the time of day.
Subtle Techniques for Everyday Wear
During the day, opt for softer colors and minimal application to maintain a natural look. Lightly contour with peach or soft pink tones, focusing on enhancing your natural features without overpowering them.
Bold Looks for Special Occasions
When you have a special event, feel free to go bolder. Richer shades and more defined contouring can create a striking, glamorous look. Explore deeper purples or vivid shades for a captivating appearance.
Maintaining Your Colored Contour
Keeping your colored contour flawless throughout the day takes a bit of maintenance. Here are some tips to make your look last.
Setting Techniques for Long-Lasting Wear
Using a setting powder or spray can lock in your makeup and help it withstand the day. Consider translucent powders for a light finish or setting sprays for an added dewy look.
Touch-Up Tips Throughout the Day
If you notice fading or shine in specific areas, keep a small travel-sized powder or touch-up stick in your bag. A quick touch-up can refresh your look in minutes.

Video Tutorial
For a visual guide, consider following a video tutorial that walks you through the colored contouring techniques step-by-step. Watching someone execute the techniques you’ve learned can bring everything together perfectly.
Conclusion
Colored contouring is an empowering way to express yourself and enhance your features. By understanding color theory, selecting the right shades, and employing the appropriate techniques, you can achieve stunning results that bring out the best of your natural beauty.
Don’t be afraid to experiment and try new things—you might discover incredible looks that you love. As you practice and gain confidence, colored contouring can become a favorite part of your makeup routine. Remember, the art of contouring is about finding what works best for you and creating a reflection of your unique style!


Your article helped me a lot, is there any more related content? Thanks!